

How To Use A Thumb Release
Proper Shooting Form with a Pollex Release
Switching release aids may feel odd at first, but we're confident you'll reap the benefits in no time.
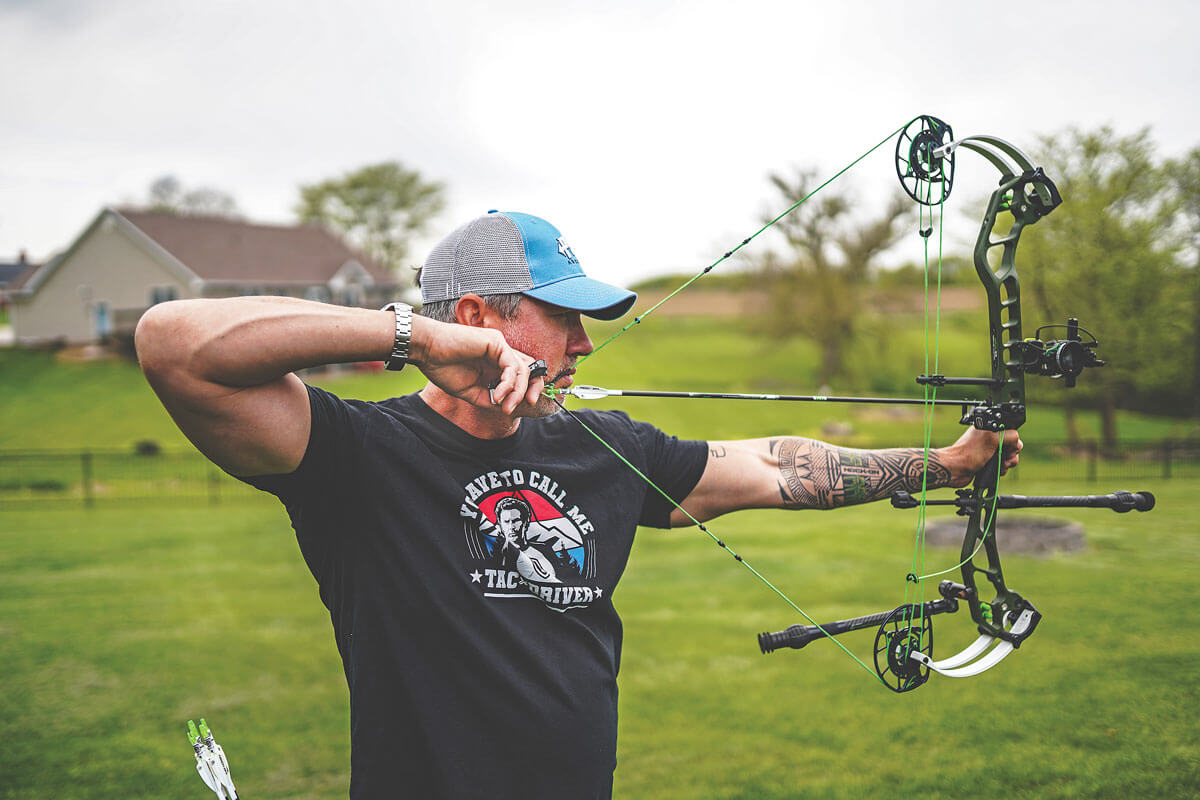
When shooting a handheld, thumb-triggered release aid, endeavor to relax your hand and so that the fingers and wrist stretch out completely and remain straight. The fingers should only act as a "hook" to hang the release from.
March 08, 2022
In contempo columns, I have tried to convince index-finger, release-assistance shooters to endeavour a handheld release assistance, specifically one with a thumb trigger. These release aids are a proven fashion for most archers to amend their accuracy. We've talked most how to go started with them, and now I'll go on the discussion with how best to use these aids.
Equally I've said before, theoretically, it shouldn't matter how you hold your release hand, forearm and elbow, every bit long as you practice it exactly the same mode each fourth dimension. However, as with all things related to archery shooting class, information technology is of import to find the position that is nigh "repeatable." And, the near repeatable position for archery is ordinarily the relaxed position. There are only a few muscles that need to be engaged to execute an archery shot, and none of them happen to be in your release hand, forearm or wrist.
Holding and Shooting
When shooting a handheld, thumb-triggered release aid, endeavour to relax your mitt so that the fingers and wrist stretch out completely and remain directly. The fingers should only act every bit a hook to hang the release from. The bow should be held dorsum by the muscles of the upper dorsum (the back-tension muscles), not the muscles of the upper arm or forearms.
In one case you've fatigued the bow, endeavour to imagine that your release arm, from your elbow through your forearm and wrist to your fingers, is inanimate. In other words, pretend you lot accept no control over whatsoever other portion of your release arm, forearm, wrist or manus. At full draw, you should hold the elbow in the upward and back position using only your dorsum muscles.
Place the knuckles of your release hand (the "claw" knuckles) lightly at the dorsum of your jawbone directly nether your ear. Again, the thumb trigger should be pointed direct down.
If, while at full depict, you squeeze the body of the release assist with your fingers, or bend your wrist, you will be recruiting additional muscle fibers that are not necessary for the execution of the shot. This will create an additional level of variability and additional tension in your forearm, both of which will lead to inconsistency.
Ideally, the lines of force from the release help, through the wrist and the elbow, should be as straight every bit possible. The more these forces curve, the greater the issue small changes in form will take on the affect betoken of the arrow. Considering it is impossible for an archer to echo perfectly, we want the minor variations in our shooting form to affect the shot equally minimally every bit possible. The position of the release hand, forearm and elbow that does this best is a relaxed, direct line.
Anchor Point Adjustments
The release aid should non be held out on your fingertips, equally this creates a not bad bargain of tension in your fingers and manus, making information technology difficult to maintain the position for whatever length of time. Information technology should instead be held deeply in the fingers (a deep claw every bit opposed to a shallow hook).
This direct line of force is often broken or bent at the anchor point, as the back of your wrist and mitt wraps around your face and neck. This is ane reason I do non advocate for a stone-solid anchor. When you use a solid anchor, you tend to push hard into your face up and bend the line of forces. The stone-solid anchor is very repeatable; nonetheless, the corporeality of force per unit area you apply to your face (and the degree of the bend) is not. Try to apply very calorie-free pressure with your hand to your face. It's still possible to place your hand in the exact same place every time without using house pressure.
A rock-solid anchor signal was extremely important earlier the advent of the peep sight. Now, however, most everyone uses a peep, and the peep itself serves every bit a type of anchor point, assuasive your release hand to float more freely and unencumbered along your face up. So but a "baby'southward breath" touch on of your release paw to your face is enough. (If, for some reason, you lot do not utilize a peep, then ignore everything I just said and use a solid ballast point.)
Yous must concord the release aid in a consequent left/correct position every bit well. In other words, if you lot put a little more pressure on your ring finger during one shot, and then on your index finger during the side by side shot, the release aid's positional geometry will change. This inconsistency will influence the directional forces on the D-loop and your arrows won't hit in the same place from shot to shot.
One time again, the best way to minimize this problem is to fully relax all of your fingers. The release aid volition naturally fall into its default, relaxed position on every shot.
Recommended

How To Use A Thumb Release,
Source: https://www.bowhuntingmag.com/editorial/proper-shooting-form-thumb-release/458746
Posted by: hansonlins1970.blogspot.com
0 Response to "How To Use A Thumb Release"
Post a Comment